There is a specific kind of magic that happens when you crave a decadent treat but don’t want to deal with three dozen leftovers. These Small batch chocolate chip cookies are the definitive answer to that late-night craving, engineered to deliver professional bakery results in a manageable quantity. Imagine pulling a tray from the oven where each cookie features perfectly golden-brown edges and a center that remains intentionally soft and underbaked.
Capturing the essence of a high-end food photograph, these cookies aren’t just about taste; they are a visual masterpiece. As you break one in half, the thick, ultra-chewy dough pulls apart to reveal a gooey interior filled with melted milk chocolate. The contrast between the warm baked dough and the sharp, flaky sea salt on top creates a sensory experience that rivals any professional patisserie.
By focusing on small-batch chemistry, we ensure every single gram of flour and every individual chocolate chip serves a purpose. Whether you are resting these on crumpled white parchment paper for the perfect “raw” aesthetic or eating them warm by window light, this recipe is designed for those who appreciate the finer details of a perfect bake.
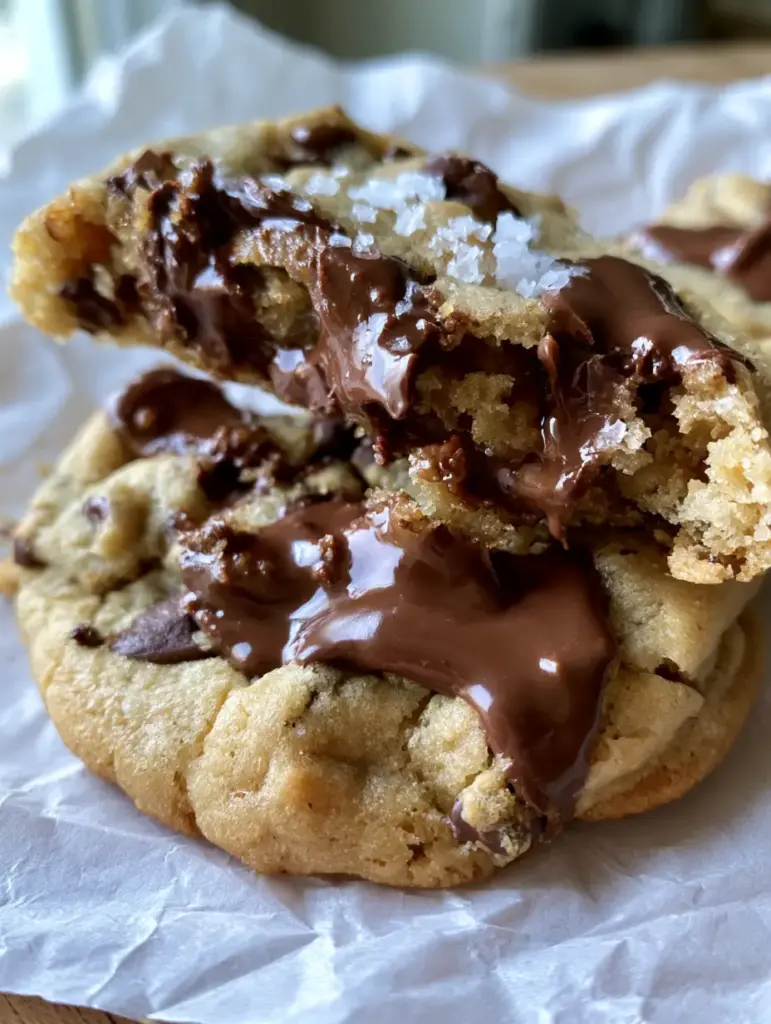
The Anatomy of an Ultra-Chewy Small Batch Cookie
- Perfectly Underbaked Centers: We utilize a specific ratio of brown sugar to ensure the middle stays soft and molten long after they leave the oven.
- The “Shiny Puddle” Effect: By using high-quality milk chocolate chips and specific placement techniques, we achieve those iconic glossy chocolate pools.
- Golden-Brown Precision: A touch of granulated sugar provides the structural integrity needed for those crisp, buttery edges.
- Artisanal Finishing: Flaky sea salt isn’t just a garnish; it’s a functional ingredient that cuts through the richness of the milk chocolate.
Pantry Staples for Golden, Chewy Perfection
Unsalted Butter (2 tbsp / 28g): Softened to room temperature, this provides the fat base. It’s essential for that “melt-in-your-mouth” texture and the golden-brown edges seen in the visual blueprint.
Light Brown Sugar (3 tbsp / 45g): This is the secret to the soft, underbaked center. The molasses in the brown sugar keeps the dough hydrated and chewy rather than crispy.
Granulated Sugar (1 tbsp / 12g): While brown sugar provides chew, this small amount of white sugar helps the edges caramelize and crisp up under the heat.
Egg Yolk (1 large): In a small batch, a whole egg provides too much liquid, leading to a cakey texture. A single yolk adds richness and ensures the “ultra-chewy” result we’re after.
Vanilla Extract (1/2 tsp / 2.5ml): This acts as a flavor enhancer, bridging the gap between the buttery dough and the sweet chocolate.
All-Purpose Flour (1/2 cup / 65g): The structural foundation. We measure this carefully to avoid a dry cookie; it must be just enough to hold the shiny chocolate puddles in place.
Baking Soda (1/4 tsp / 1.5g): This leavening agent reacts with the acidic brown sugar to create a slight lift, resulting in a thick, substantial cookie.
Milk Chocolate Chips (1/3 cup / 60g): For the best visual results, use chips with a high cocoa butter content to ensure they melt into puddles rather than holding their shape.
Flaky Sea Salt (to taste): Large, flat crystals are best. They catch the light and provide a sharp textural contrast to the soft dough.
Essential Tools for the Perfect Small Batch
To achieve the look of an eye-level smartphone photo with natural light, your tools matter as much as your ingredients. You will need a small mixing bowl and a stiff silicone spatula to ensure every bit of dough is incorporated without over-mixing. A standard baking sheet lined with crumpled white parchment paper is vital; the wrinkles in the paper actually help air circulate under the cookie for a more even bake.
If you enjoy the precision of this recipe, you might also love our chocolate chip pudding cookies for an even softer texture. For those who need a larger variety of treats, consider pairing these with salted caramel rice krispie treats for a dessert spread that hits every note of sweet and salty.
Step-by-Step to Shiny Chocolate Puddles
Preparing the Buttery Foundation
In your small bowl, cream together the softened butter, brown sugar, and granulated sugar. You aren’t looking for “fluffy” here; instead, aim for a paste-like consistency that looks like wet sand. This ensures the cookies remain dense and chewy rather than airy.
Whisk in the egg yolk and vanilla extract until the mixture is smooth and pale. You’ll notice the fat from the yolk starts to emulsify with the sugars, creating a glossy sheen that will eventually lead to those beautiful golden-brown edges.
Folding for Texture
Sift in the flour, baking soda, and a pinch of fine salt. Using your spatula, fold the dry ingredients into the wet until just a few streaks of flour remain. Over-mixing at this stage develops gluten, which would ruin the “soft underbaked center” we are aiming for.
Gently fold in most of the milk chocolate chips, reserving a tablespoon for the top. This technique ensures chocolate is distributed throughout the thick dough, while the reserved chips will create the “shiny chocolate puddles” on the surface.
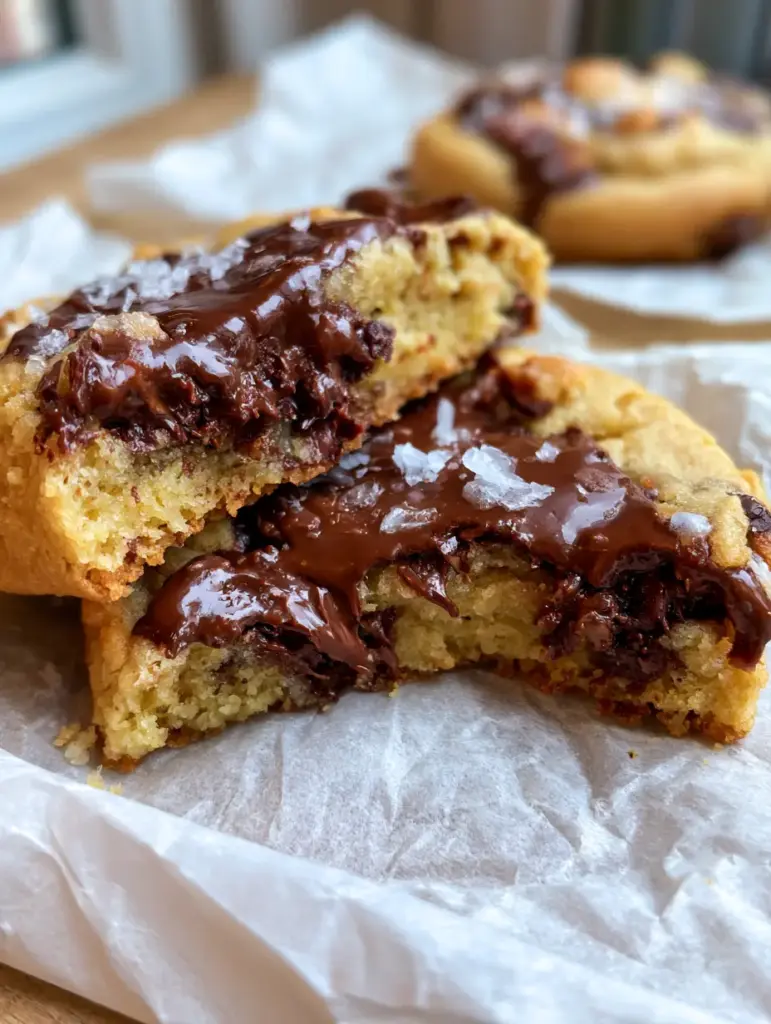
The Strategic Bake
Scoop the dough into three or four large mounds onto your crumpled parchment paper. Place the reserved chocolate chips directly on top of the dough balls, pressing them in slightly. This is the “forensic” secret to getting those puddles to sit right on top of the golden surface.
Bake at 350°F (175°C) for exactly 9-11 minutes. You are looking for a very specific sensory cue: the edges should be set and a deep golden brown, but the centers should still look slightly “wet” and underbaked. They will continue to set on the hot pan.
The Finishing Touch
Immediately upon removing the tray from the oven, sprinkle the flaky sea salt over the molten chocolate. If the cookies aren’t perfectly round, use a circular glass or cookie cutter to “scoot” the edges inward while they are soft, creating that thick, professional look.
Expert Tips for Success
- Room Temperature Yolk: Ensure your egg yolk isn’t cold from the fridge, or it will seize the softened butter, leading to an uneven bake.
- Don’t Skip the Crumpled Paper: The texture of the parchment isn’t just for photos; it prevents the cookies from spreading too thin, keeping them thick and chewy.
- The Puddle Hack: If your chocolate chips don’t look “puddly” enough, take a small spoon and gently swirl the melted chips the moment they come out of the oven.
- Measure by Weight: For a Small batch chocolate chip cookies recipe, a few extra grams of flour can be the difference between gooey and dry. Use a scale if possible.
Preserving the Gooey Texture
These cookies are at their absolute peak about 10 minutes after baking, once the chocolate has slightly set but is still warm. If you have leftovers, store them in an airtight container at room temperature for up to 2 days. To regain that “warm baked dough” experience, microwave a single cookie for 8-10 seconds until the chocolate puddles begin to shine again.
For long-term storage, you can freeze the unbaked dough balls. When a craving hits, bake them directly from frozen, adding 2 minutes to the total bake time. This ensures you always have access to a fresh, ultra-chewy treat.
Sweet Pairings and Dessert Variations
While these cookies are a star on their own, they play well with other flavors. If you’re a fan of fruit-filled bakes, try our strawberry white chocolate muffins for a brighter flavor profile. For a more tropical vibe, a pineapple blueberry margarita offers a refreshing acidic contrast to the rich, salty chocolate.
If you’re hosting a small gathering, these cookies look stunning next to red velvet cupcakes, providing a variety of textures and colors that make for an incredible dessert table.
Frequently Asked Questions
For this small batch size, a whole egg adds too much moisture, which will make the cookies cakey and puffy rather than chewy and gooey. The yolk provides the necessary fat and richness for the perfect texture.
Use high-quality milk chocolate chips or chopped chocolate bars. Place a few extra chips on top of the dough balls before baking, and if they don’t melt flat, give them a gentle swirl with a spoon immediately after they come out of the oven.
The edges should be firm and golden brown, while the center should still look slightly shiny and soft. If the center looks like liquid batter, give them 1 more minute. They will firm up significantly as they cool on the pan.
Flat cookies usually result from butter that is too warm or over-mixing the sugar and butter. For this recipe, ensure your butter is just softened, not oily, and mix until a paste forms rather than beating it into a fluff.
Crumpling the parchment paper creates small air pockets and a non-uniform surface that helps prevent the cookies from spreading too thin, ensuring they stay thick with those characteristic golden-brown edges.
The Ultimate Small Batch Chocolate Chip Cookie Recipe
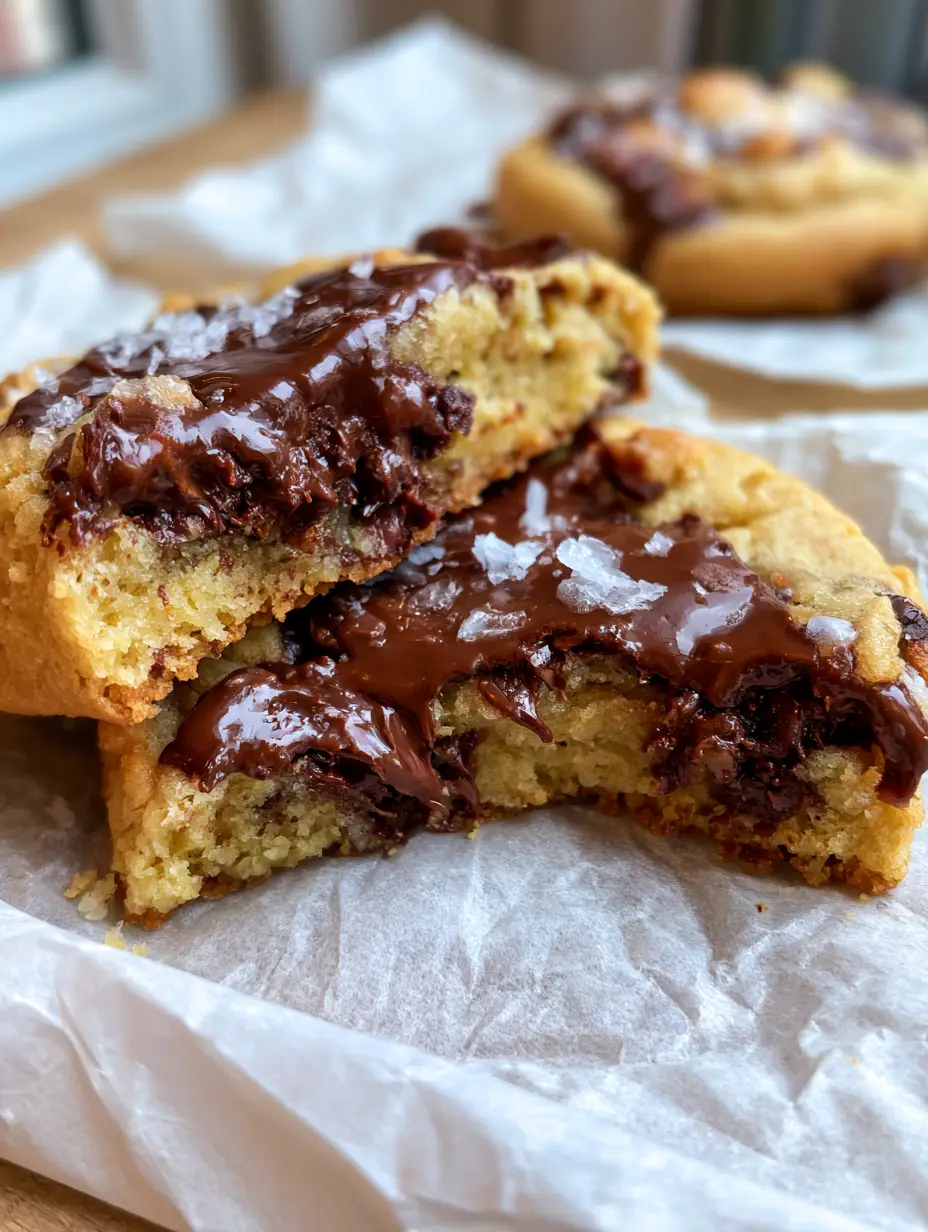
Small Batch Chocolate Chip Cookies with Gooey Centers and Shiny Puddles
Ingredients
Equipment
Method
- In a small bowl, cream the softened butter with light brown sugar and granulated sugar until a thick paste forms.
- Whisk in the egg yolk and vanilla extract until the mixture is smooth and glossy.
- Fold in the flour and baking soda until just combined. Do not over-mix. Fold in the majority of the milk chocolate chips.
- Scoop dough into 6 mounds on crumpled parchment paper. Press remaining chocolate chips onto the tops.
- Bake at 350°F (175°C) for 9-11 minutes until edges are golden brown but centers remain soft and slightly wet.
- Remove from oven and immediately sprinkle with flaky sea salt. Allow to cool on the pan for 5 minutes to set.
Notes
Crumple the parchment paper to create air pockets for better heat circulation.
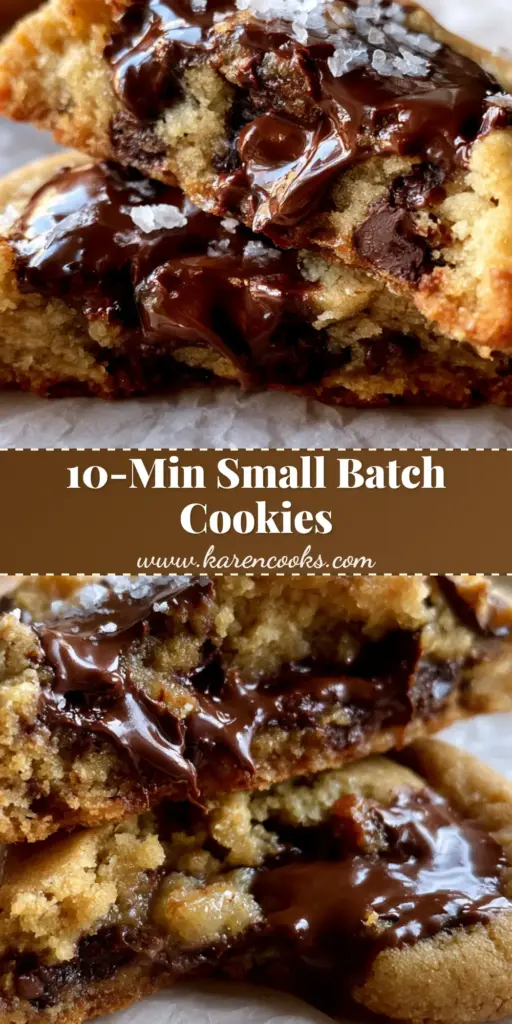
Closing & Call to Action
Mastering the Small batch chocolate chip cookies is a rite of passage for any home baker. It’s the perfect blend of culinary science and visual artistry, resulting in a cookie that tastes even better than it looks. The combination of the gooey center and the crunch of flaky sea salt makes this a recipe you’ll return to again and again.
If you made these and captured that perfect window-light photo, I’d love to see it! Leave a comment below with your results or share your bake on Pinterest to inspire other bakers. Don’t forget to sign up for our newsletter for more elite-level recipes and forensic baking tips.


