There is a specific kind of magic that happens when deep crimson cake meets a cloud-like swirl of ivory frosting. These red velvet cupcakes aren’t just a dessert; they are a study in culinary contrast, balancing a tangy, moist sponge crumb with the rich, sharp sweetness of a professional-grade cream cheese topping.
If you have ever been disappointed by a dry, brownish-red cake or a runny frosting that loses its shape, this recipe is your redemption. We are going to achieve that ultra-realistic, gourmet aesthetic you see in high-end bakeries—complete with the signature moist texture and defined piped ridges that catch the light.
Inspired by the perfect handheld gourmet experience, these cupcakes feature a fine-crumb texture that practically melts on the tongue. We will finish them with a light sprinkle of fine red velvet cake crumbs to provide that professional, artisanal touch that makes every bite feel like a celebration.
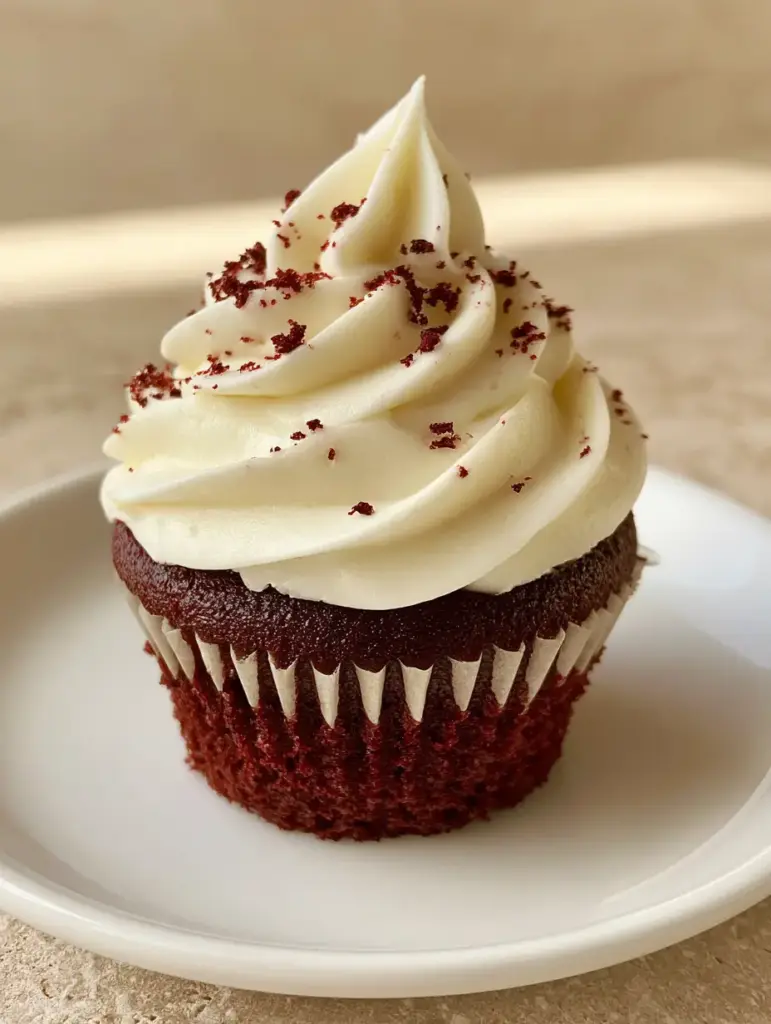
The Anatomy of the Perfect Crimson Crumb
- Deep Crimson Visuals: We utilize a specific ratio of cocoa powder and red gel coloring to ensure a vibrant red hue that doesn’t fade during baking.
- Ultra-Moist Sponge: The combination of oil and buttermilk creates a crumb that is visibly moist and stays fresh for days.
- Sharp Piping Definition: Our cream cheese frosting is engineered for stability, allowing for those sharp, defined ridges seen in professional food photography.
- Artisanal Finish: Using a sacrificial cupcake to create a fine red velvet cake crumb dust adds a layer of texture and visual sophistication.
The Scientific Essentials for Red Velvet Cupcakes
Cake Flour (2 ½ cups / 310g): Using cake flour instead of all-purpose is the secret to a fine-crumb texture. Its lower protein content ensures the sponge remains tender and light rather than bready.
Unsweetened Cocoa Powder (2 tbsp / 10g): This isn’t a chocolate cake, but the cocoa provides a hint of depth. It also reacts with the acid to help create the traditional “velvet” feel.
Granulated Sugar (1 ½ cups / 300g): Beyond sweetness, sugar is a humectant. It attracts moisture, ensuring your red velvet cupcakes never veer into “dry” territory.
Buttermilk (1 cup / 240ml): The hero of the recipe. The acidity in buttermilk tenderizes the gluten and provides that classic tangy flavor profile essential to the red velvet identity.
Vegetable Oil (1 cup / 240ml): While butter provides flavor, oil provides superior moisture. In a cupcake meant to be served chilled (due to the frosting), oil ensures the cake stays soft.
Distilled White Vinegar (1 tsp / 5ml) & Baking Soda (1 tsp / 5g): This chemical reaction provides the final lift. When these two meet, they create carbon dioxide bubbles that make the sponge fluffy and light.
Red Gel Food Coloring (1 tsp / 5ml): To achieve the “crimson” look of a gourmet red velvet cupcake, gel is superior to liquid. It provides intense color without altering the liquid ratios of the batter.
Full-Fat Cream Cheese (16 oz / 450g): For the frosting, always use block-style cream cheese. It has less moisture than the spreadable kind, ensuring your “sharp ridges” stay sharp.
Unsalted Butter (½ cup / 115g): We use softened butter to provide structural integrity to the frosting. It helps the ivory-white swirl hold its shape under warm kitchen lights.
Essential Equipment for Gourmet Results
To achieve the “visibly moist” and “glossy swirl” look, you will need a standard 12-cup muffin tin and neutral parchment wrappers. The neutral color of the parchment allows the crimson of the red velvet cupcakes to truly pop visually.
A stand mixer or high-powered hand mixer is vital for the frosting. To get those sharp, defined piped ridges, you will need a large open-star piping tip (like a Wilton 1M) and a sturdy piping bag.
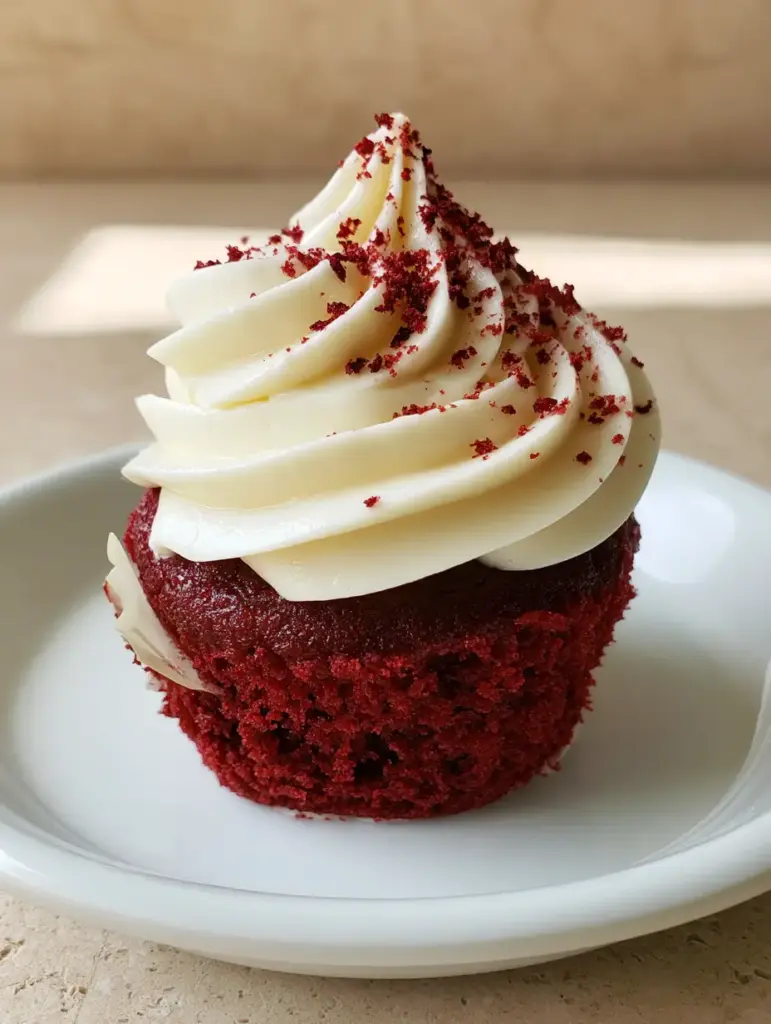
Step-by-Step Evolution of the Red Velvet Cupcake
1. Preparing the Crimson Foundation
Preheat your oven to 350°F (175°C) and line your pans with neutral parchment liners. In a medium bowl, sift together your cake flour, cocoa powder, and salt to ensure no clumps disrupt the fine-crumb texture.
2. The Emulsification Process
In your stand mixer, beat the sugar and oil until combined. Add the eggs one at a time, followed by the red gel coloring and vanilla; the batter should look like vibrant, liquid silk at this stage.
3. Balancing the Acid and Base
Alternate adding the dry ingredients and the buttermilk into the wet mixture. In a small cup, whisk the vinegar and baking soda—it will fizz—then immediately fold it into the batter to lock in that airy, moist sponge crumb.
4. The Precision Bake
Fill the liners only 2/3 full to prevent “muffin tops” and maintain the handheld gourmet aesthetic. Bake for 18-22 minutes until a toothpick comes out with just a few moist crumbs; avoid overbaking to keep the color bright.
5. Creating the Glossy Ivory Frosting
Beat the cold cream cheese and softened butter until perfectly smooth. Gradually add powdered sugar and a splash of heavy cream, whipping at high speed until the frosting is glossy and holds a stiff peak.
6. The Professional Finishing Touches
Once the red velvet cupcakes are completely cool, pipe a high, thick swirl of frosting using a circular motion. Crumble one “sacrificial” cupcake top into a fine dust and sprinkle it lightly over the glossy ridges for the final visual bridge.
Expert Tips for Bakery-Standard Success
- Temperature Control: Ensure your eggs and buttermilk are at room temperature to prevent the batter from curdling, which preserves the “fine-crumb” texture.
- The “Sacrificial” Cupcake: Don’t feel bad about crumbling one cupcake! That “fine red velvet cake crumb dust” is what separates a home bake from a gourmet masterpiece.
- Sifting is Non-Negotiable: Cocoa powder is notoriously lumpy. Sifting ensures the crimson color is perfectly even throughout the sponge.
- Piping Technique: For those defined ridges, start from the outside and spiral inward, applying constant pressure to the piping bag.
Storage and Preservation for Maximum Moisture
Because of the cream cheese frosting, these red velvet cupcakes must be stored in the refrigerator. Use an airtight container to prevent the “moist sponge crumb” from picking up fridge odors or drying out.
They will remain perfectly edible for 4-5 days. If you want to freeze them, do so without the frosting; the cake bases can be wrapped in plastic and frozen for up to 3 months.
What to Serve with Gourmet Cupcakes
Red velvet is a rich, decadent flavor that pairs beautifully with refreshing beverages. If you are hosting a brunch, these pair exceptionally well with a hibiscus rose mocktail to mirror the floral undertones of the vanilla.
For a child’s birthday party, consider serving them alongside cotton candy cloud mocktails for a whimsical, high-contrast dessert table. If you want to stick with the cupcake theme, they look stunning next to a tray of chocolate banana cupcakes.
Frequently Asked Questions
You can, but the texture will be slightly denser. To mimic cake flour, remove 2 tablespoons of all-purpose flour from each cup and replace it with 2 tablespoons of cornstarch.
The secret is using cold, block-style cream cheese and beating it with softened butter. Avoid over-mixing once the sugar is added, as the frosting can become runny if beaten for too long.
Yes, because the frosting contains cream cheese and butter, they must be refrigerated. For the best texture, let them sit at room temperature for 15 minutes before serving.
This usually happens if too much cocoa powder is used or if the batter is too alkaline. Using red gel food coloring and ensuring the buttermilk/vinegar acidity is balanced will keep the crimson hue bright.
Vinegar reacts with the baking soda to provide a light, airy lift and also reacts with the cocoa powder to enhance the traditional ‘velvet’ crumb and reddish tint.
The Ultimate Red Velvet Cupcakes Recipe Card
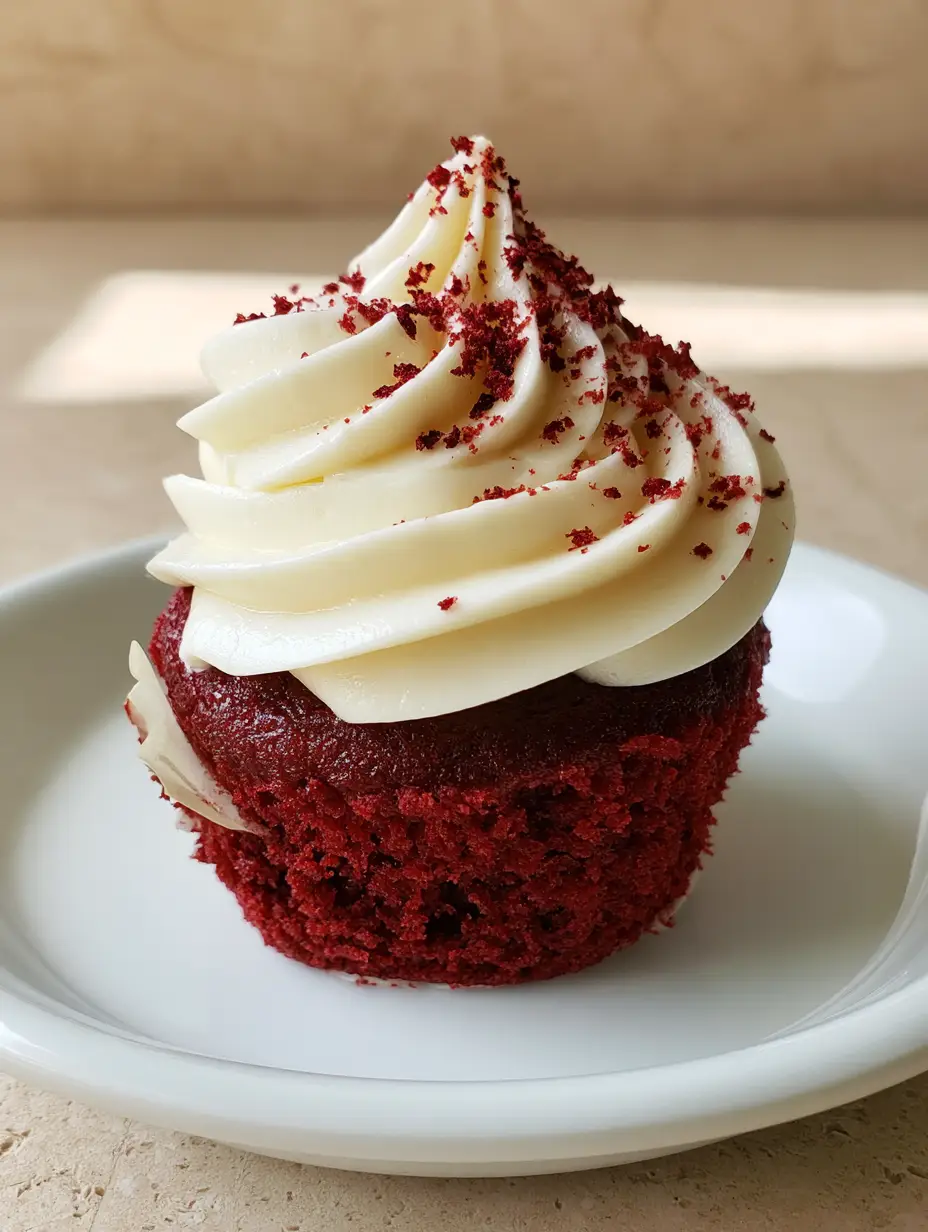
Red Velvet Cupcakes with Glossy Cream Cheese Frosting and Fine Cake Dust
Ingredients
Equipment
Method
- Sift together cake flour, cocoa, and salt in a bowl.
- Beat sugar, oil, eggs, vanilla, and red gel coloring until vibrant and smooth.
- Mix in dry ingredients and buttermilk alternately, beginning and ending with dry.
- Mix vinegar and baking soda, then fold into the batter quickly. Divide into liners.
- Bake at 350°F (175°C) for 18-22 minutes until moist crumbs appear on a toothpick.
- Whip cold cream cheese and butter until smooth, then add sugar and whip until glossy with sharp peaks.
- Pipe a high ivory-white swirl with sharp ridges onto each cooled cupcake.
- Crumble one cupcake top and sprinkle the fine crimson dust over the frosting.
Notes
Cold cream cheese is the secret to frosting that doesn't wilt.
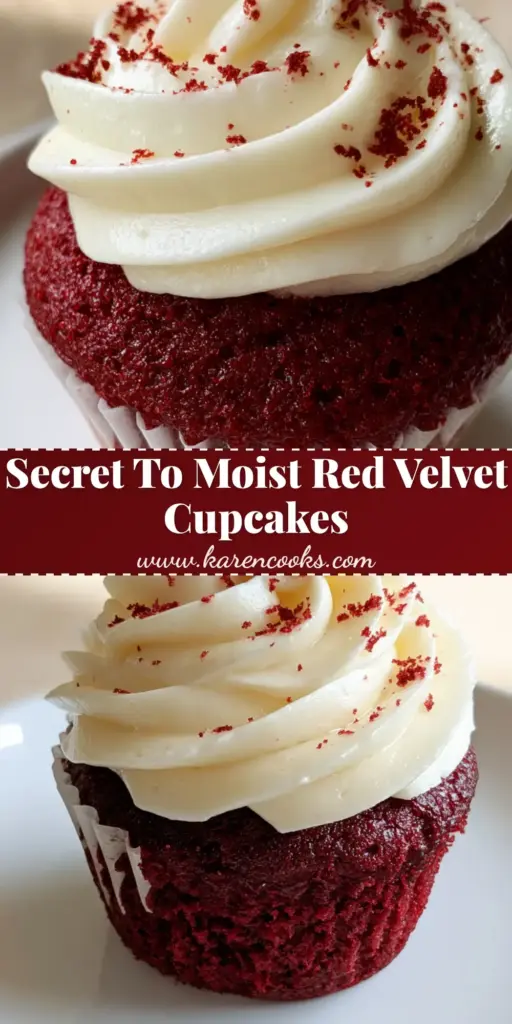
Closing Thoughts on the Crimson Classic
Mastering these red velvet cupcakes is a rite of passage for any serious home baker. The combination of the tangy crimson sponge and that sharp, glossy frosting creates a sensory experience that is truly unmatched.
If you enjoyed this recipe, please leave a comment below and let me know how your frosting ridges turned out! Don’t forget to share your creations and follow me on Pinterest for more gourmet inspiration.
Looking for more dessert inspiration? Check out my latest strawberry cheesecake dump cake or my guide to small batch chocolate chip cookies.


