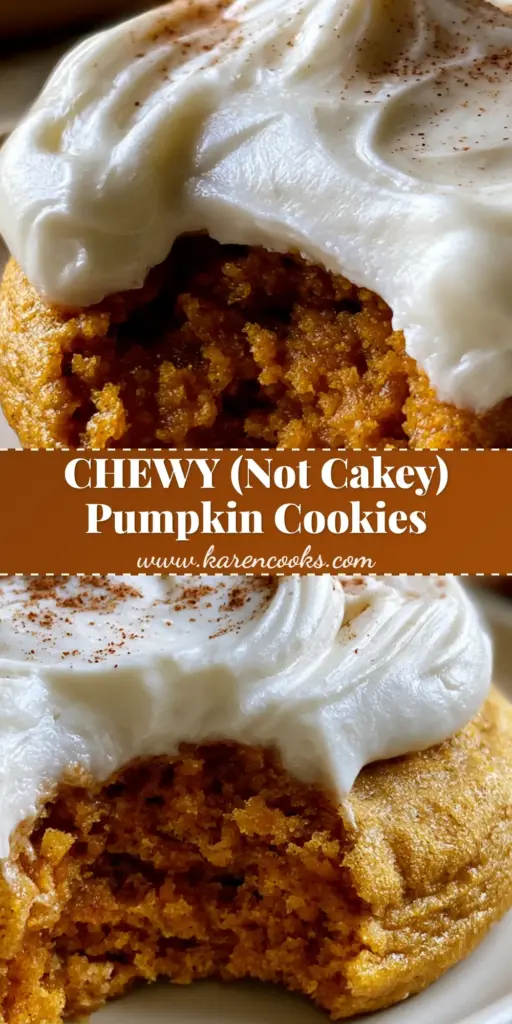
There is a specific kind of magic that happens when the warmth of autumn spices meets a texture so decadent it rivals a chocolate brownie. These Soft Pumpkin Cookies are not your average cake-like pumpkin treats; they are a masterclass in culinary density, boasting a moist, fudgy interior and a vibrant orange-gold hue that screams harvest season. If you have been searching for a cookie that avoids the “bready” trap of most pumpkin recipes, you have finally arrived.
Imagine sinking your teeth through a thick, velvety layer of glossy cream cheese frosting, hitting a dusting of sharp cinnamon, and finally reaching a center that is chewy, dense, and rich. This recipe was engineered to replicate the exact visual and sensory experience of a high-end bakery find, captured in beautiful, soft natural daylight. We are moving away from airy leavening and toward a fudgy, concentrated pumpkin essence that lingers on the palate.
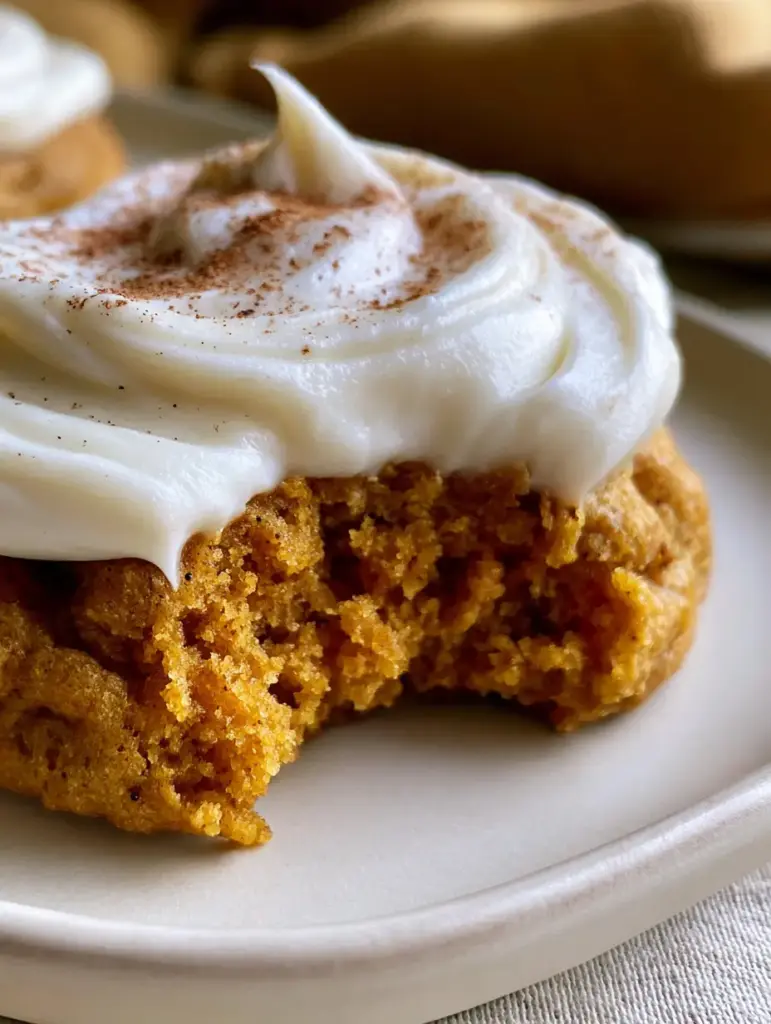
The Anatomy of a Perfectly Dense Pumpkin Cookie
- The Fudgy Crumb: Unlike traditional cookies that rely on air, these are developed to have zero air pockets, resulting in a chewy, fudge-like consistency.
- Vibrant Orange-Gold Hue: By using concentrated pumpkin and specific sugars, we achieve a deep, natural autumnal color without artificial dyes.
- Glossy Frosting Peaks: A high-fat whipped cream cheese frosting provides the structural integrity for those beautiful, professional-looking swirls.
- Cinnamon Finishing Touch: A fine micro-dusting of ground cinnamon provides both a visual contrast and an immediate olfactory hit of spice.
The Essential Elements for a Fudgy Pumpkin Base
Achieving a dense interior requires a careful selection of ingredients that prioritize moisture over lift. We aren’t just making a cookie; we are crafting a pumpkin-infused truffle in cookie form, much like the richness found in pumpkin bread truffles.
Pumpkin Puree (Blotted): 1 cup (245g) of canned pumpkin puree is the heart of this recipe. You must blot the puree with paper towels to remove excess moisture, ensuring the dough remains fudgy rather than watery.
Melted Unsalted Butter: 3/4 cup (170g) of melted butter provides the fat necessary for a chewy texture. Using melted butter instead of creamed butter prevents air from being incorporated, which is key to avoiding a bready result.
Brown Sugar: 1 cup (200g) of packed light brown sugar adds molasses notes and helps retain moisture. This is what creates that “fudgy” bite rather than a crisp edge.
Large Egg Yolk: 1 large egg yolk (approximately 18g) is used instead of a whole egg. Removing the white prevents the cookie from puffing up, keeping the structure dense and rich.
All-Purpose Flour: 2 cups (250g) of flour provides the structural framework. Be sure to measure by weight to avoid an overly dry or crumbly cookie.
Pumpkin Pie Spice & Salt: 2 tsp (4g) of spice and 1/2 tsp (3g) of sea salt balance the sweetness. The salt is a “foundational invisible” that enhances the earthy notes of the pumpkin.
Crafting the Velvety Cream Cheese Topping
The frosting is what elevates these Soft Pumpkin Cookies into the realm of gourmet desserts. We are looking for a “heavy, swirling layer” that maintains its shape even at room temperature.
Full-Fat Cream Cheese: 8 oz (226g) of cold, brick-style cream cheese is essential. Do not use the spreadable tub variety, as it lacks the stability needed for glossy peaks, similar to the requirements for a classic cheesecake.
Unsalted Butter (Softened): 1/2 cup (113g) of butter creates the “velvety” mouthfeel. When whipped with the cheese, it creates a glossy finish that catches the light beautifully.
Powdered Sugar: 3 cups (360g) of sifted icing sugar provides sweetness and body. Sifting is non-negotiable to ensure the “zero air pocket” aesthetic of the cookie isn’t ruined by lumpy frosting.
Vanilla Bean Paste: 1 tsp (5ml) adds those beautiful black specks and a deep floral aroma. This pairs perfectly with the cinnamon dusting mentioned in the visual blueprint.
Professional Equipment for Bakery-Quality Results
To achieve the “extreme macro” beauty seen in professional photography, you need the right tools. A standard cookie scoop ensures uniform thickness, which is vital for even baking and a consistent “dense” look across the batch.
A high-powered stand mixer or hand mixer is required to whip the cream cheese frosting until it reaches those “glossy peaks.” Additionally, a fine-mesh sieve is necessary for the cinnamon dusting, ensuring the spice is distributed as a fine mist rather than clumps.
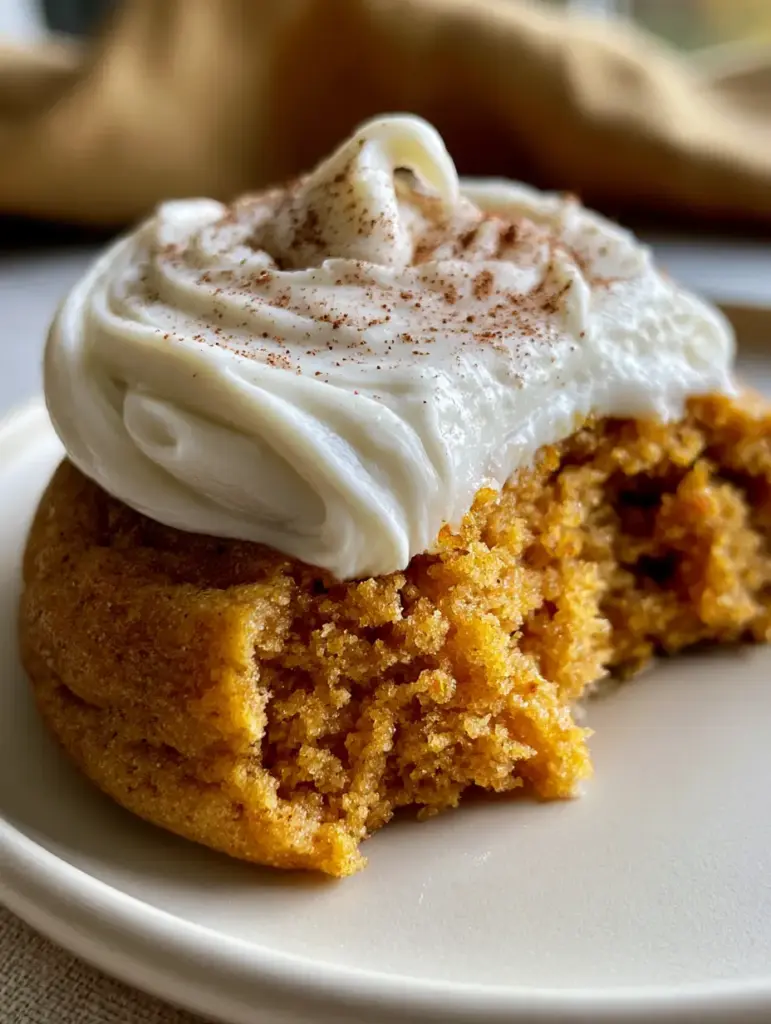
Step-by-Step Guide to the Ultimate Pumpkin Cookie
Step 1: The Moisture Reduction Process
Start by spreading your pumpkin puree onto a plate lined with four layers of paper towels. Press another layer of paper towels on top to soak up the liquid. You want to see the pumpkin become a thick, clay-like paste; this ensures the Soft Pumpkin Cookies stay fudgy and never turn into “pumpkin bread.”
Step 2: Combining the Rich Base
In a large bowl, whisk together the melted butter and brown sugar until fully combined and glossy. Add the blotted pumpkin and the egg yolk, whisking vigorously. You will notice the dough taking on a vibrant orange-gold hue as the fat emulsifies with the pumpkin solids.
Step 3: Folding the Dry Ingredients
Gently fold in the flour, pumpkin spice, and salt using a spatula. Do not overmix! Overmixing develops gluten, which would create the bready texture we are strictly avoiding. Stop as soon as no white streaks of flour remain. The dough should be thick, tacky, and heavy.
Step 4: The Precision Bake
Scoop 2-tablespoon portions of dough onto a parchment-lined sheet. Bake at 350°F (175°C) for exactly 10-12 minutes. Look for the “visual cue” of the edges being set but the centers appearing slightly underdone. This “soft-focus” center is what carries that moist, fudgy crumb after cooling.
Step 5: Whipping the Glossy Frosting
While the cookies cool completely, beat the cream cheese and butter until smooth. Gradually add the powdered sugar and vanilla. Increase the speed to high for 60 seconds to achieve that “velvety, glossy white” look. If the frosting is too soft, chill it for 10 minutes before swirling.
Step 6: The Final Artistic Swirl
Use an offset spatula or a piping bag to apply a “heavy, swirling layer” of frosting to each cooled cookie. Hold a fine sieve with a pinch of cinnamon high above the cookies and tap gently. This creates that professional “dusted” look without overwhelming the visual of the glossy frosting peaks.
Expert Tips for Success
- Temperature Control: Ensure your cookies are 100% cold before frosting. If they are even slightly warm, the high-fat frosting will melt, losing those iconic glossy peaks.
- The Bite Test: To get that “macro close-up” look with a bite taken out, use a circular cookie cutter to “bite” the cookie for a clean, sharp edge that shows off the fudgy crumb.
- Quality Spices: Use fresh pumpkin pie spice. If your spice has been in the pantry for over a year, your cookies will lack the aromatic punch needed to match their rich visual profile.
- Avoid Leaveners: Notice there is no baking powder or soda in this recipe. This is intentional to ensure the “zero air pocket” density described in the blueprint.
Storing and Freezing Your Pumpkin Treats
Because of the high moisture content and cream cheese frosting, these Soft Pumpkin Cookies must be stored in the refrigerator. Place them in a single layer in an airtight container for up to 5 days. The cold actually enhances the “fudgy” texture of the center.
For long-term storage, you can freeze the unfrosted cookie bases for up to 3 months. When ready to serve, thaw at room temperature and apply fresh frosting. This ensures the frosting remains “glossy” and “velvety” rather than becoming matte in the freezer.
What to Serve With Soft Pumpkin Cookies
These cookies are incredibly rich, making them the perfect companion for a sharp contrast. A hot cup of espresso or a Starbucks-inspired latte cuts through the dense cream cheese frosting beautifully. If you are hosting a fall gathering, consider serving these alongside other seasonal favorites like pumpkin streusel muffins for a variety of textures.
For a complete dessert table, these cookies pair excellently with a fruit-based contrast, such as a classic strawberry shortcake, which offers a lighter, airier counterpoint to the fudgy density of the pumpkin spice.
Frequently Asked Questions
No, pumpkin pie filling contains added sugars and spices that will throw off the chemistry of the dough. Stick to 100% pure pumpkin puree for the best control over flavor and texture.
Yes. Blotting removes the water that creates a ‘bread-like’ steam in the oven. For that dense, orange-gold fudgy center, reducing the moisture is critical.
Use cold, full-fat brick cream cheese and beat it with softened butter and sifted powdered sugar on high speed. The high fat content and cold temperature are what create the glossy, stable swirls.
Cakey textures come from excess moisture in the pumpkin and too much aeration. To ensure a fudgy result, blot your pumpkin puree thoroughly and avoid using chemical leaveners like baking powder.
The Ultimate Soft Pumpkin Cookies Recipe
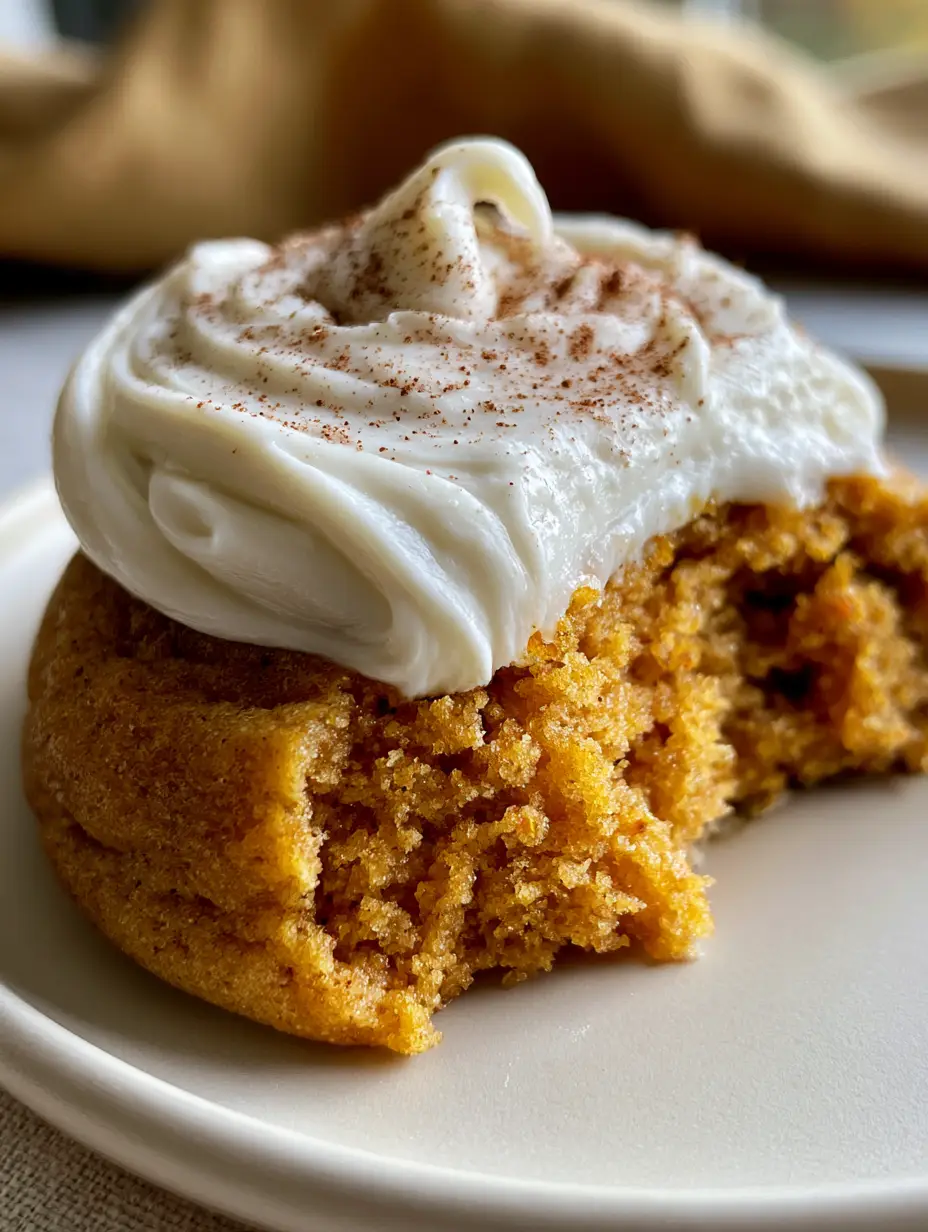
Soft Pumpkin Cookies with a Fudgy Center and Whipped Cream Cheese Frosting
Ingredients
Equipment
Method
- Spread pumpkin puree on paper towels and blot until thick to ensure a fudgy, non-bready texture.
- Whisk melted butter, brown sugar, blotted pumpkin, and egg yolk until smooth and glossy.
- Fold in flour, spice, and salt until just combined; avoid overmixing to keep the crumb dense.
- Scoop 2-tbsp portions and bake at 350°F (175°C) for 10-12 minutes until edges are set but centers are moist.
- Whip cream cheese, butter, sugar, and vanilla until glossy peaks form; swirl onto cooled cookies.
- Use a sieve to lightly dust ground cinnamon over the glossy frosting swirls.
Notes
Use cold cream cheese for the sturdiest, glossiest frosting peaks.
Final Thoughts on This Autumn Classic
These Soft Pumpkin Cookies represent the pinnacle of fall baking, combining a scientifically dense crumb with the aesthetic beauty of artisanal frosting. By following the blotting technique and omitting traditional leaveners, you create a dessert that is as visually stunning as it is delicious. Don’t forget to capture your own macro shots and share them with the community!
If you enjoyed this recipe, please leave a comment below and share your results on Pinterest. Your feedback helps us continue to develop high-quality, visually-aligned recipes for home cooks everywhere!