There is a specific kind of magic that happens when the rustic charm of a morning muffin meets the nostalgic, spiced soul of an old-fashioned doughnut. These sour cream doughnut muffins are designed to capture that exact moment—the second you tear into a warm, golden dome to reveal a cloud-like, pale ivory interior that releases a soft plume of visible steam.
Imagine a texture so moist it practically melts on your tongue, contrasted sharply by a heavy, sparkling layer of granulated cinnamon sugar that crunches with every single bite. This isn’t just a quick breakfast; it is a sensory experience designed for those who appreciate the finer details of macro food photography and professional baking alike.
Whether you are serving these on a matte white artisanal ceramic plate for a slow Sunday brunch or grabbing one as you head out the door, the combination of tangy sour cream and warm nutmeg creates a flavor profile that is sophisticated yet deeply comforting. Much like our beloved creamy banana-filled treats, these muffins focus on a superior crumb structure that keeps you coming back for more.
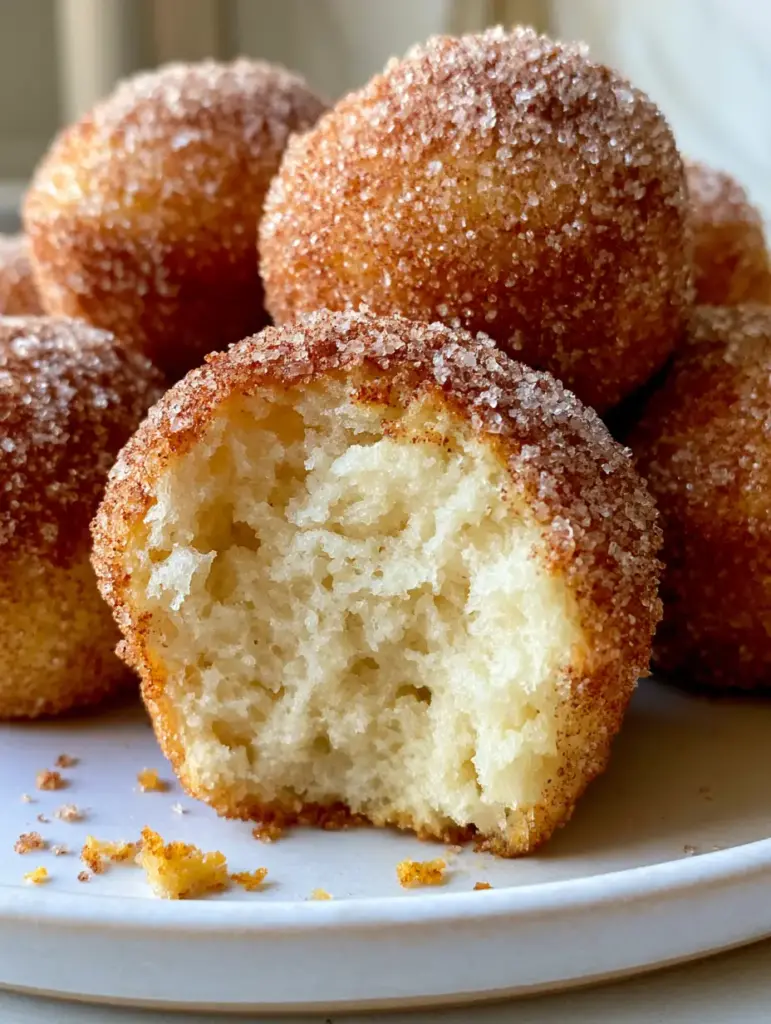
Why You Will Fall in Love With This Bakery-Style Treat
- The Ultimate Texture Contrast: A thick, rustic crust of cinnamon sugar crystals protects an ultra-moist, pale ivory interior crumb.
- Old-Fashioned Doughnut Flavor: By utilizing freshly grated nutmeg and high-fat sour cream, we replicate the iconic taste of a fried cake doughnut without the mess of a deep fryer.
- Visual Perfection: These muffins bake up with high, golden-brown domes that look exactly like the professional shots you see in high-end culinary magazines.
- Scientifically Moist: The acidity in the sour cream tenderizes the gluten, ensuring the interior remains soft and steaming even after cooling slightly.
Essential Components for the Perfect Ivory Crumb
To achieve the visual and structural results dictated by our culinary blueprint, each ingredient serves a specific scientific purpose. We don’t just add items for flavor; we add them for chemistry.
All-Purpose Flour: 3 cups (375g). This provides the essential protein structure needed to support the high dome while maintaining a tender enough “bite” to be considered doughnut-like.
Granulated Sugar: 1 cup (200g) for the batter. Sugar isn’t just for sweetness; it interferes with gluten development to keep that interior crumb pale and soft rather than bread-like.
Full-Fat Sour Cream: 1 cup (240g). This is the secret to the “ivory” color and the “ultra-moist” texture seen in the torn-open muffin; its thickness ensures the batter doesn’t become too runny.
Unsalted Butter: 1/2 cup (115g), softened. Creaming the butter with sugar creates tiny air pockets that expand in the oven, giving us that visible soft texture and steam-trapping crumb.
Large Eggs: 2 units. These act as the primary emulsifier, binding the fats and liquids together to ensure the muffin doesn’t crumble apart when you tear it open.
Baking Powder & Baking Soda: 2 tsp (10g) and 1/4 tsp (1.5g) respectively. This dual-leavening approach ensures a rapid rise for a perfect dome and a neutral pH for a pale interior.
Ground Nutmeg: 1 tsp (2g). This is the “invisible” flavor bridge that convinces your brain you are eating a doughnut rather than a standard vanilla muffin.
Fine Sea Salt: 1/2 tsp (3g). Salt is a flavor enhancer that balances the sugar and makes the spices “pop” against the rich dairy notes.
The Coating Trio: Melted butter, granulated sugar, and cinnamon. These are applied post-bake to create that thick, sparkling granulated cinnamon sugar crust that catches the morning light.
Professional Tools for Macro-Worthy Results
Achieving a macro-photography-ready muffin requires more than just a good recipe; it requires the right equipment to control the heat and shape. A standard 12-cup muffin tin is essential, but ensure it is a heavy-gauge metal to prevent the bottoms from over-browning before the domes are set.
You will also need a whisk and a sturdy silicone spatula to fold the dry ingredients. Over-mixing is the enemy of the “ivory crumb,” as it develops too much gluten and creates large, unsightly air holes. Finally, a small deep bowl for the cinnamon sugar mixture is better than a shallow plate, allowing you to “dunk” the muffin for maximum crystal coverage.
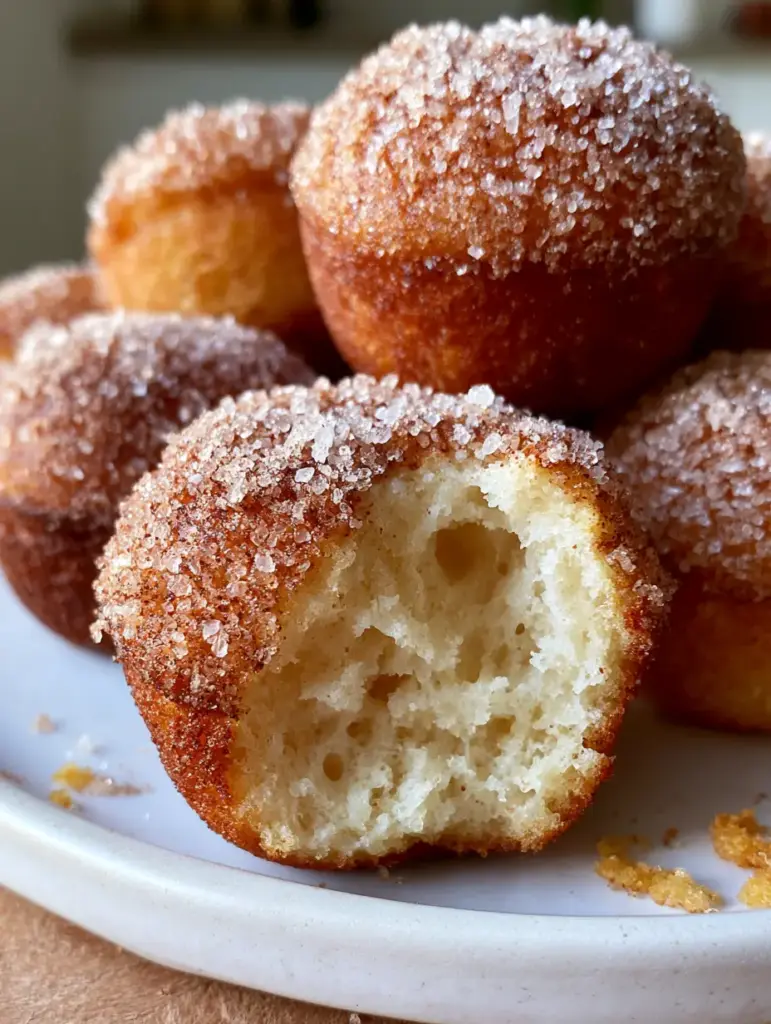
Step-by-Step Guide to the Perfect Sour Cream Doughnut Muffins
1. Preparing the Culinary Canvas
Preheat your oven to 375°F (190°C). This slightly higher temperature is a professional secret for creating an immediate “spring” in the batter, which results in the perfect golden-brown dome described in our visual prompt.
Grease your muffin tin thoroughly with butter or non-stick spray, but avoid using paper liners if you want the rustic, golden-brown exterior to be visible all the way around the muffin sides.
2. The Creaming Science
In a large bowl, cream the softened butter and 1 cup (200g) of sugar until the mixture is pale and fluffy, usually about 3 minutes. Incorporate the eggs one at a time, beating well after each addition to ensure a stable emulsion.
Whisk in the sour cream and vanilla extract. At this stage, the mixture should look like a thick, luxurious pale cream. This is the foundation of your moist pale ivory interior crumb.
3. Folding for Tenderness
Sift together the flour, baking powder, baking soda, salt, and nutmeg. Sifting is vital here; it removes clumps and ensures the spices are distributed evenly so you don’t end up with dark spots in your ivory crumb.
Gently fold the dry ingredients into the wet ingredients using a spatula. Stop the very moment you no longer see streaks of white flour. The batter should be thick and hold its shape—this thickness is what supports the scattered sugar crystals later.
4. The Golden Bake
Divide the batter evenly among the 12 muffin cups. They should be nearly full. Bake for 18-22 minutes. Look for the “Visual Cue”: the edges should be a deep golden brown, and the centers should spring back when touched, while remaining pale enough to indicate a moist interior.
Let them cool in the tin for only 5 minutes. We need them to be warm for the next step so the butter absorbs and the sugar sticks in a thick layer.
5. Engineering the Cinnamon Sugar Crust
While the muffins are cooling slightly, melt the remaining butter in a small bowl. In another bowl, combine the granulated sugar and cinnamon. These will create the “sparkling layer of large granulated cinnamon sugar crystals” mentioned in our blueprint.
Dip the crown of each warm muffin into the melted butter, then immediately roll it in the cinnamon sugar. Press down gently to ensure the crystals adhere in a thick, rustic layer. Allow a few stray sugar crystals to fall naturally—this adds to the “authentic and appetizing” smartphone photo aesthetic.
Expert Tips for Bakery-Level Success
- Room Temperature Ingredients: Ensure your eggs and sour cream are not cold. Room temperature ingredients emulsify better, creating a more uniform, soft texture.
- Fresh Nutmeg: If possible, grate a whole nutmeg nut. The volatile oils are much stronger and provide that authentic “old fashioned” scent that triggers the steam-sensory experience.
- The Double Dip: For an extra thick crust, let the first layer of sugar set for a minute, then dip in butter and sugar a second time. This creates a truly professional, crunchy exterior.
- Don’t Over-Bake: To keep the interior “ultra-moist” and “pale ivory,” pull the muffins out the moment a toothpick comes out with just a few moist crumbs.
Pairing and Presentation Suggestions
These sour cream doughnut muffins are best served warm, ideally within an hour of baking to catch that visible steam. Place them in a casual pile on a rustic white ceramic plate to mimic the macro food photography style. The neutral background allows the golden-brown domes to really stand out.
If you are looking for a full brunch spread, these pair beautifully with our strawberry white chocolate muffins for a fruit-forward contrast. To wash it all down, consider exploring our refreshing beverage recipes, or perhaps a bold coffee to cut through the sweetness of the cinnamon sugar crust.
For those hosting a morning gathering, a side of fresh fruit and maybe some small-batch cookies for later in the day will make you the ultimate host.
Frequently Asked Questions
They are best fresh, but you can store them in an airtight container for 2 days. For the best texture, wait to do the sugar coating until just before serving.
For the authentic rustic look and better browning on the sides, it is recommended to grease the tin directly instead of using paper liners.
The secret is to dip the muffins while they are still warm so the melted butter absorbs slightly, allowing a thick layer of granulated sugar crystals to adhere.
Toughness usually comes from over-mixing the batter. Once the flour is added, fold gently only until no streaks remain to keep the interior soft.
Sour cream adds fat and acidity, which tenderizes the gluten and results in a much more moist, ‘ivory’ crumb compared to using milk alone.
The Ultimate Sour Cream Doughnut Muffins Recipe
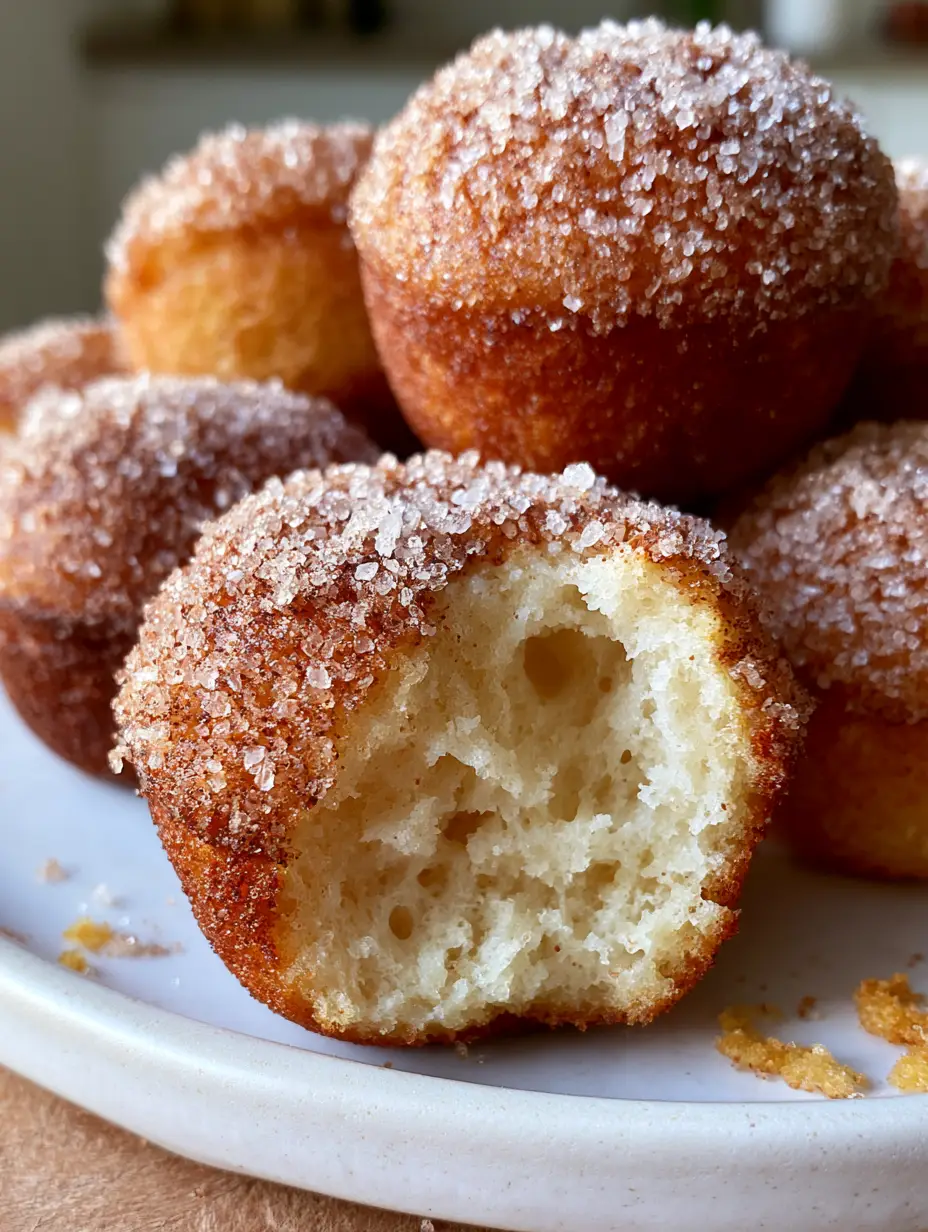
Sour Cream Doughnut Muffins with a Thick Cinnamon Sugar Crust
Ingredients
Equipment
Method
- Cream softened butter and sugar until pale and fluffy. Beat in eggs one at a time, then whisk in sour cream and vanilla.
- Sift flour, baking powder, baking soda, salt, and nutmeg together. Gently fold into the wet mixture until just combined.
- Fill muffin cups nearly to the top. Bake at 375°F (190°C) for 18-22 minutes until golden-brown and springy.
- While warm, dip muffin tops in melted butter, then roll in the cinnamon sugar mixture until a thick crust forms.
Notes
Do not over-mix once the flour is added to ensure a pale ivory crumb.
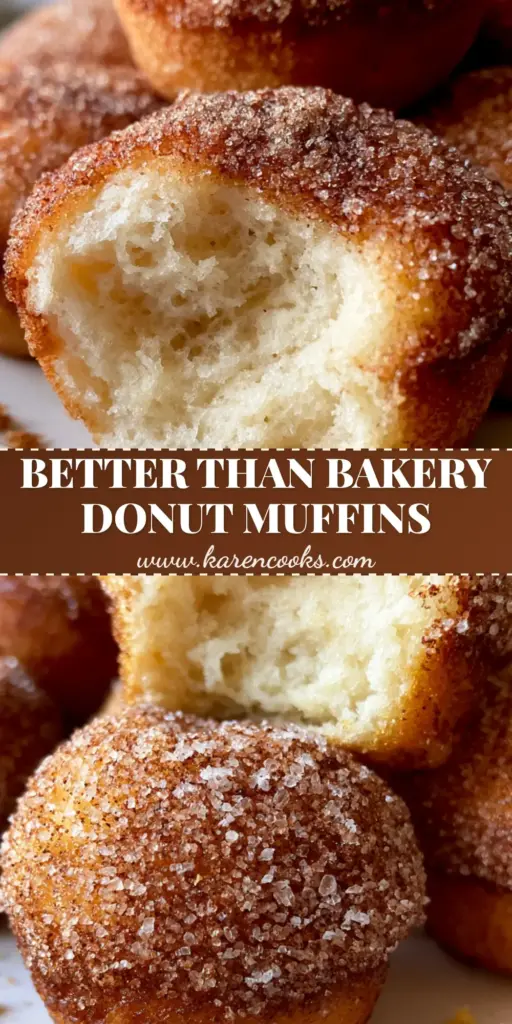
Closing & Call to Action
These sour cream doughnut muffins are a testament to the fact that you don’t need a deep fryer to achieve that perfect doughnut flavor. With their thick cinnamon sugar crust and steaming, moist interior, they are guaranteed to become a household favorite. The combination of simple ingredients and professional techniques results in a muffin that looks as good as it tastes.
If you enjoyed this recipe, please leave a comment below and let us know how your crust turned out! Don’t forget to share your photos and tag us, and be sure to follow karen_cooks_official on Pinterest for more visual recipe inspiration and bakery-style secrets.


