The butterscotch cream pie is a nostalgic titan of the dessert world, often remembered for its deep, caramelized flavor and cloud-like topping. However, achieving that perfect, handheld-slice-ready consistency—as seen in professional food photography—requires more than just a box of pudding mix. This recipe bridges the gap between a rustic home kitchen and a high-end patisserie, delivering a dessert that is as structurally sound as it is delicious.
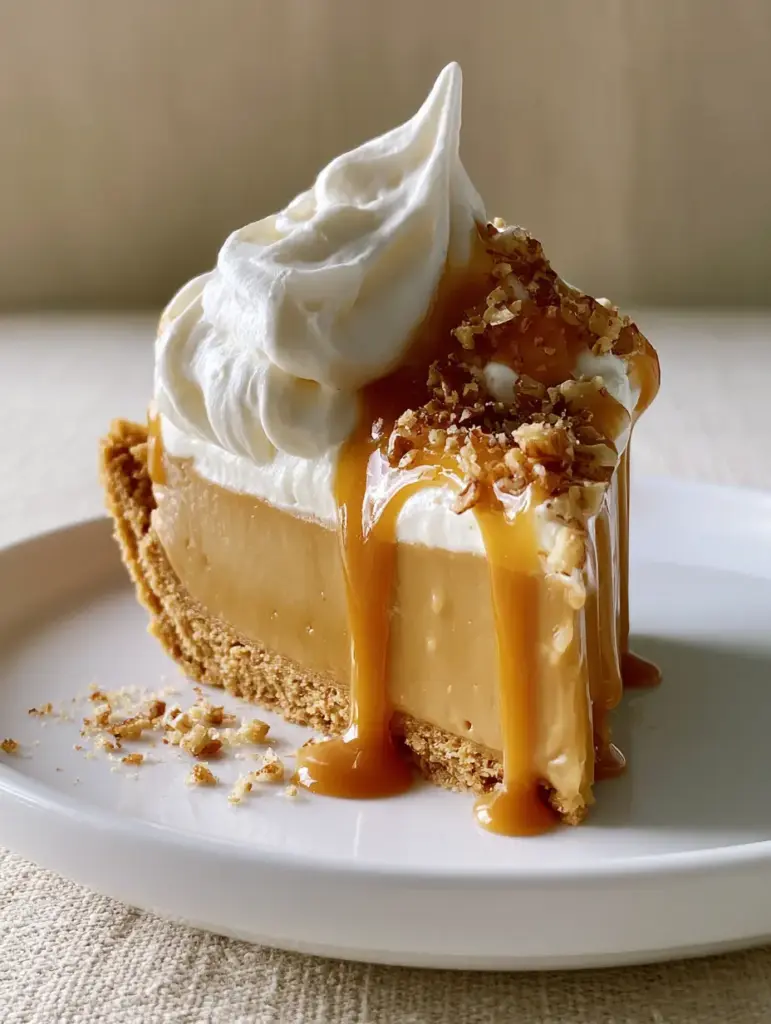
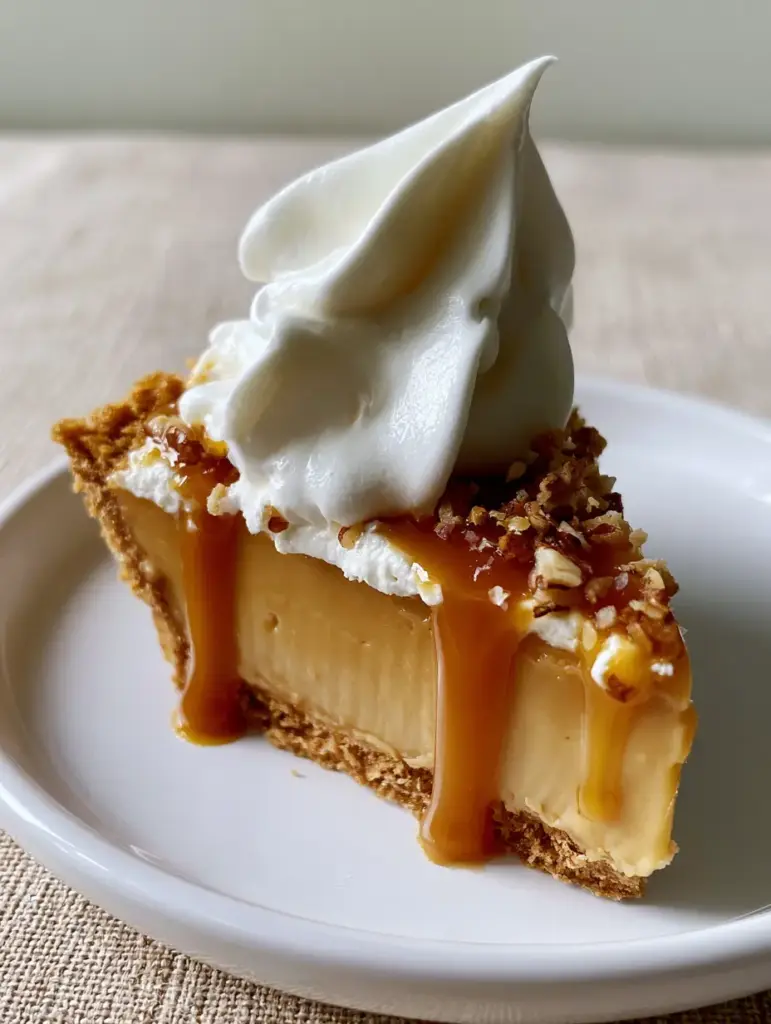
Imagine a single, perfect slice resting on a minimalist ceramic plate. The natural side daylight catches the glossy amber butterscotch sauce as it slowly cascades down a thick, golden-brown graham cracker crust. Above the velvety, firm caramel-colored filling sits a high mound of billowy whipped cream, finished with the earthy crunch of toasted pecans. This is the sensory experience we are building today—a balance of salt, sugar, and fat that defines the perfect butterscotch cream pie.
Whether you are a seasoned baker or a newcomer looking to impress at your next gathering, this guide will walk you through the culinary science of browning butter and tempering yolks. We will ensure your pie never ends up “soupy,” providing you with the technical expertise to create a slice that holds its shape even after it leaves the pie tin.
The Structural Anatomy of a Perfect Cream Pie
- A Solid Foundation: A thick, buttery graham cracker crust that provides a salty-sweet crunch to contrast the soft filling.
- The “Firm-Set” Secret: A meticulously cooked butterscotch custard that uses both cornstarch and egg yolks for a sliceable, velvety texture.
- Textural Contrast: High, billowy mounds of stabilized whipped cream that offer an airy lightness against the dense pudding.
- The Finishing Glaze: A homemade, glossy amber butterscotch sauce that adds a concentrated punch of caramel flavor.
- Toasted Nutty Finish: Finely chopped toasted pecans that introduce a smoky aroma and essential bite.
The Essential Components for a Flawless Butterscotch Filling
To achieve the visual and textural goals of our butterscotch cream pie, every ingredient serves a dual purpose. We aren’t just looking for flavor; we are looking for chemistry.
Dark Brown Sugar: You need 1.5 cups (300g) of packed dark brown sugar. Unlike light brown sugar, the dark variety contains more molasses, which is essential for that deep, authentic butterscotch profile and the caramel-colored hue seen in our blueprint.
Unsalted Butter: 6 tbsp (85g) of high-quality butter. We will brown this butter slightly during the cooking process to release nutty aromatic compounds that complement the toasted pecans.
Whole Milk and Heavy Cream: A combination of 2 cups (480ml) whole milk and 1 cup (240ml) heavy cream. This specific ratio provides enough fat for a luxurious mouthfeel without making the custard too heavy to set firmly.
Egg Yolks: 4 large egg yolks (approximately 72g). Yolks act as an emulsifier, creating a rich, yellow-amber tint and providing the structural protein needed for a “firm sliceable” result.
Cornstarch: 1/3 cup (40g) of cornstarch. This is your primary thickening agent. It ensures the pie remains stable at room temperature for serving, avoiding the dreaded “pudding slump.”
Fine Sea Salt: 1/2 tsp (3g). Salt is the most important “invisible” ingredient; it cuts through the intense sweetness of the sugar and enhances the toasted notes of the pecans.
Vanilla Bean Paste or Extract: 1 tbsp (15ml). While butterscotch is the star, vanilla provides the floral background notes that round out the dessert’s profile.
The Tools You Will Need for Professional Results
Achieving the visual precision of a professional food photo requires a few specific kitchen tools. A 9-inch (23cm) deep-dish glass or ceramic pie plate is ideal for showcasing that thick graham cracker crust. You will also need a heavy-bottomed saucepan to prevent the sugar from scorching, and a fine-mesh sieve to ensure the custard is perfectly smooth before it hits the crust.
For the billowy whipped cream peaks described in our visual prompt, a stand mixer or electric hand mixer is essential. Finally, a kitchen scale is highly recommended for measuring ingredients like flour and sugar in grams to ensure 100% accuracy in the set of the pudding.
Crafting the Buttery Graham Cracker Crust
Step 1: Prep and Pulverize
Preheat your oven to 350°F (175°C). Combine 2 cups (200g) of graham cracker crumbs with 1/3 cup (65g) of granulated sugar and 1/2 tsp (3g) of salt. The salt here is critical to balance the incoming sweetness of the butterscotch.
Step 2: Bind and Press
Pour in 8 tbsp (113g) of melted unsalted butter. Mix until the texture resembles wet sand. Press the mixture firmly into your pie plate, using the bottom of a measuring cup to ensure the bottom and sides are even and compact. This thickness is what allows for the “thick, crumbly, golden-brown” look in the final slice.
Step 3: The Par-Bake
Bake the crust for 8-10 minutes until it smells toasted and looks a shade darker. This step prevents a soggy bottom once the moist filling is added. Let it cool completely before filling. If you love no-bake bases, you might also enjoy our Oreo Peanut Butter Pie which uses a similar pressing technique.
The Science of the Firm Butterscotch Custard
Step 4: The Caramelization Base
In your heavy-bottomed saucepan, melt the 6 tbsp (85g) of butter over medium heat. Once melted, whisk in the 1.5 cups (300g) of dark brown sugar. Whisk constantly for 3-5 minutes. You are looking for the mixture to become a bubbling, glossy amber mass. This is where the flavor of the butterscotch cream pie is born.
Step 5: Tempering for Success
In a separate bowl, whisk together your milk, cream, cornstarch, and egg yolks until perfectly smooth. Slowly stream about 1/2 cup (120ml) of your hot sugar mixture into the egg mixture while whisking vigorously. This “tempering” prevents the eggs from scrambling. Once tempered, pour the egg mixture back into the saucepan.
Step 6: Thickening to a Velvety Finish
Cook the mixture over medium heat, whisking constantly. Watch for the first heavy bubble to pop on the surface. Once it thickens to the consistency of a thick Greek yogurt, remove from heat and stir in the vanilla and salt. Strain through a fine-mesh sieve directly into your cooled crust to remove any tiny bits of cooked egg.
Chilling and Setting for the Perfect Slice
Patience is the most difficult ingredient in this butterscotch cream pie. Press a piece of plastic wrap directly onto the surface of the custard to prevent a “skin” from forming. Refrigerate for at least 6 hours, though overnight is preferred. This long chill is what ensures the “firm sliceable” texture required for that perfect handheld photo.
If you find yourself craving other cream-based desserts while you wait, check out our Boston Cream Pie Cheesecake or the classic Banana Pudding Pie for more inspiration.
The Art of Billowy Whipped Cream and Glossy Garnish
Step 7: Achieving Soft Peaks
In a chilled bowl, whip 1.5 cups (360ml) of heavy cream with 2 tbsp (30g) of powdered sugar until soft, billowy peaks form. Do not over-whip; you want the cream to look like clouds, not butter. Spoon this high mound onto the center of your chilled pie, leaving a small border of the caramel-colored filling visible.
Step 8: The Amber Drip and Pecan Scatter
For the glossy amber butterscotch sauce, you can use a high-quality store-bought version or simmer a bit of brown sugar, butter, and cream until thickened. Drizzle the warm sauce over the whipped cream, allowing it to drip down the sides. Immediately scatter 1/2 cup (60g) of toasted, finely chopped pecans over the top. The heat from the sauce will help the pecans adhere.
Expert Tips for a Professional Finish
- Toast Your Pecans: Always toast your pecans in a dry pan for 3-5 minutes before chopping. This releases the oils and creates the “beautiful natural highlights” mentioned in the visual prompt.
- Use Room Temp Yolks: Cold yolks can seize when hitting the hot sugar. Let them sit out for 20 minutes before starting the custard.
- The Knife Trick: For that perfect clean slice, dip a sharp chef’s knife in hot water and wipe it dry between every single cut.
- Avoid the Slump: Ensure your cornstarch is fresh. Old cornstarch loses its thickening power, which will result in a pie that doesn’t hold its shape.
Frequently Asked Questions
Absolutely. This pie is best made a full day in advance to allow the filling to set completely. Add the whipped cream and garnishes just before serving for the best visual appeal.
Yes, you can use a pre-made graham cracker crust, but ensure it is a deep-dish version. Homemade crusts tend to be thicker and sturdier, which supports the heavy butterscotch filling better.
Immediately after pouring the hot filling into the crust, press a piece of plastic wrap directly onto the surface of the custard. This prevents air from drying out the top layer as it cools.
Butterscotch is made primarily with brown sugar and butter, giving it a deep molasses flavor. Caramel pie uses granulated white sugar that is heated until it melts and browns, offering a sharper, more toasted flavor profile.
A runny filling usually occurs if the cornstarch wasn’t fully activated by reaching a boil, or if the pie wasn’t chilled for at least 6 hours. Ensure you see large bubbles popping on the surface of the custard during cooking.
How to Store and Preserve Your Pie
The butterscotch cream pie is best enjoyed within 24-48 hours of assembly. Store it in the refrigerator, loosely covered with a pie dome or tented foil. We do not recommend freezing this pie, as the cornstarch-based custard can weep and become spongy upon thawing. For a freezer-friendly option, you might prefer our No-Bake Peanut Butter Pie.
What to Serve with Butterscotch Cream Pie
This rich, decadent pie pairs beautifully with a sharp contrast. A cup of strong, black coffee or a cold glass of milk is traditional. If you are serving this at a summer gathering, consider pairing it with a refreshing Beach Peach Lemonade Cocktail to cut through the sweetness. For a full dessert spread, it sits perfectly alongside a Classic Cheesecake or even a tray of Strawberry White Chocolate Chip Cookies.
The Ultimate Butterscotch Cream Pie Recipe
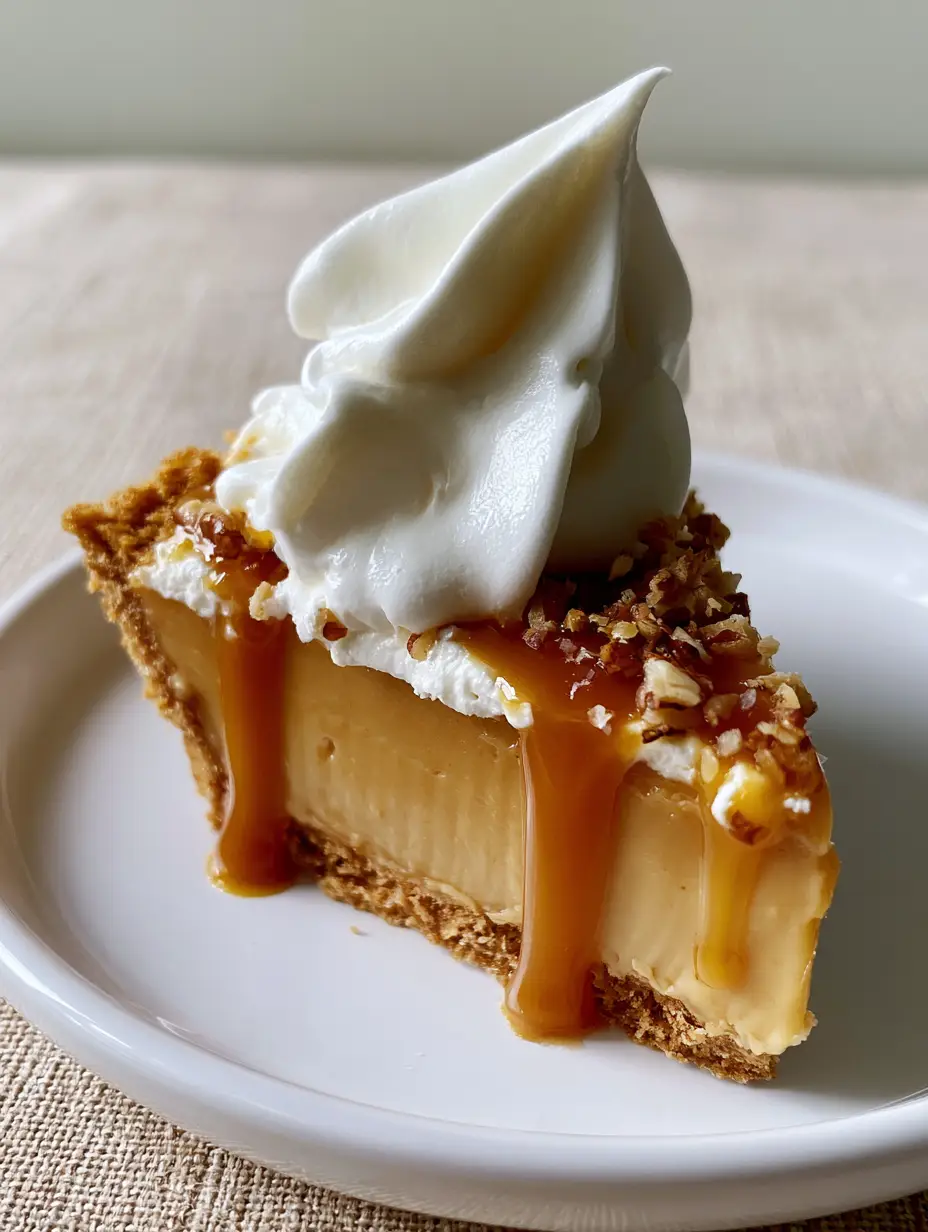
Butterscotch Cream Pie: The Ultimate Guide to a Firm and Velvety Masterpiece
Ingredients
Equipment
Method
- Combine crumbs, sugar, and butter. Press into pie plate and bake at 350°F (175°C) for 10 minutes. Cool completely.
- Melt butter and brown sugar in a saucepan until bubbling and glossy amber.
- Whisk milk, cream, cornstarch, and yolks. Temper into sugar mixture. Cook until thick bubbles form.
- Strain custard through a sieve into the crust. Press plastic wrap on surface and chill for 6+ hours.
- Whip cream to soft peaks. Mound onto chilled pie. Drizzle with sauce and scatter toasted pecans.
Notes
Chill the pie for a minimum of 6 hours to ensure a clean, sliceable edge.
Closing & Call to Action
Mastering the butterscotch cream pie is a rite of passage for any home baker. By focusing on the temperature of your sugar and the stability of your custard, you create a dessert that is not just a meal, but a memory. The combination of the crumbly graham cracker crust and the velvety caramel filling is a timeless classic that deserves a place in your permanent recipe box.
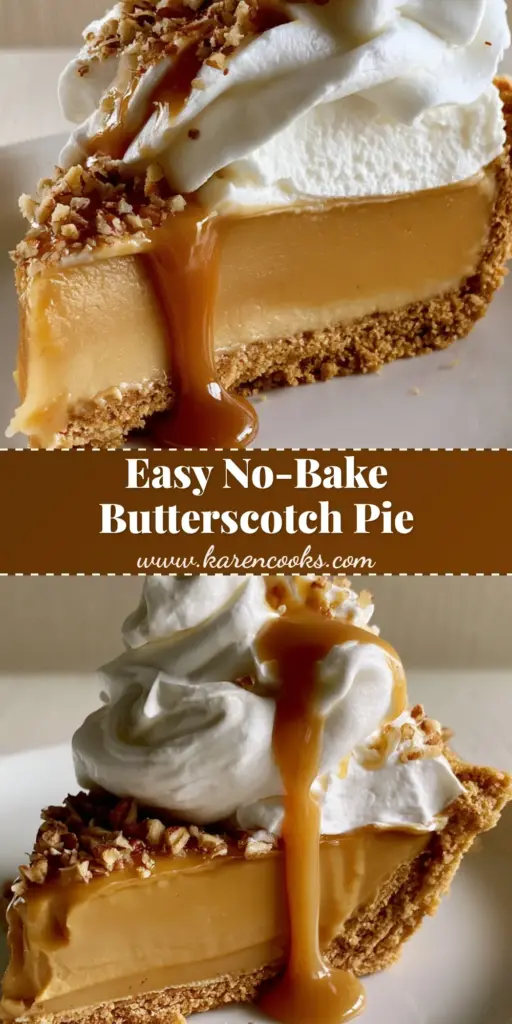
Did your slice come out perfectly firm? We want to see your results! Leave a comment below and let us know how your family liked the toasted pecan finish. Don’t forget to follow us on Pinterest for more visually stunning recipe inspiration and share your photos using our Pin Image below!


